CrossFill: Foam Structures with Graded Density for Continuous Material Extrusion

Next week I will be presenting our latest paper called “CrossFill: Foam Structures with Graded Density for Continuous Material Extrusion” at the Symposium on Solid and Physical Modeling which is part of the International Geometry Summit.

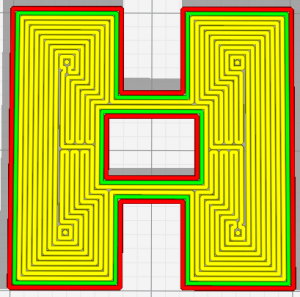
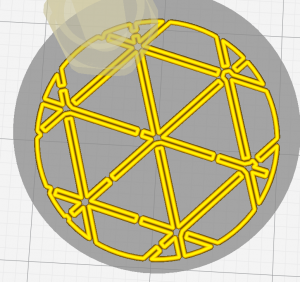
We present an infill structure which satisfies a user-specified density field in order to generate infill with densities which gradually change throughout the object.
The infill pattern is very compliant and when you print these infills using a flexible filament such as TPU, the structures behave like a foam.
[youtube]https://youtu.be/lcLcsprxIHw[/youtube]

There are also some options in Cura to ensure that the infill structure has an almost fully connected channel of air inside – just like gyroid infill does.
However, in my latest implementation I had to remove these features, because the expanded functionality of following a user-specified density distribution couldn’t support the idea of keeping connected air channels inside.

Homogeneous CrossFill is already incorporated in Cura, but some of the features I present here are not yet incorporated.
The infill pattern has become the industry standard for printing with TPU by now.

The paper can be accessed for free for a limited amount of time via the this link.
Otherwise you can access the pre-print here.

Custom build plate adhesion

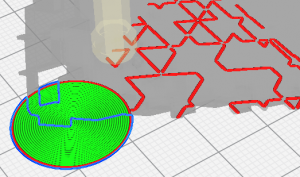
I was playing around with some complex custom infill patterns and when trying to print it I noticed that it would be hard to print without a brim, but the prim would be very hard to remove after printing, because of all the complex geometry in the 3D model.
I therefore decided I should add custom platform adhesion in Cura.

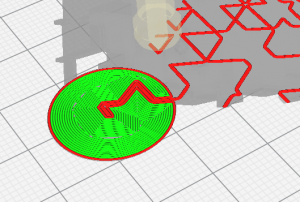
I loaded in a model of a cylinder and changes its height to the initial layer height.
Then in the per-object settings I set the top/bottom pattern to concentric.
Some people call this technique ‘mouse ears’ – as a reference to the familiar Disney character perhaps.

However, now my custom brim was replacing my model, instead of being printed around the model like you would expect for an adhesion brim or skirt.

I therefore submitted a pull request to the Cura team to let the user be able to influence which part gets precedence of which when removing mesh intersections (carving multiple volumes). I’ve renamed the setting Infill Mesh Order to Mesh Processing Rank and made it so that the same setting is also used when processing the order of normal meshes. The functionality is actually quite the same as for infill meshes.

With the updates to Cura the result can now be configured to look like this:

Let’s hope it will be incorporated in Ultimaker Cura soon!

link to the official pull request

Making my chairs at home scratch-safe

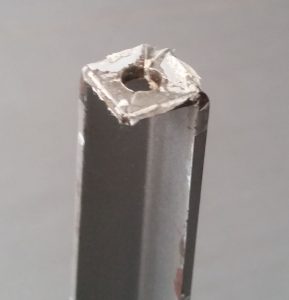
I’ve been having trouble getting my chairs at home not to scratch my floor and after several failed attempts at solving the problem I have considered the solution which should have been obvious to me: 3D printing the anti-scratch thingies!

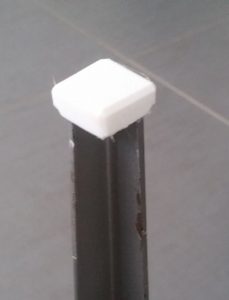
The final working design envelops the foot of the chair and plugs into the hole in the foot of the chair.

3D model file on YouMagine

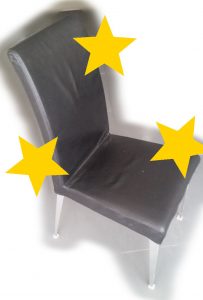
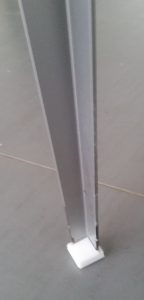
By beautiful chair:

The bottom side of the leg:

The bottom side of the leg with the printed sock:

The top side of the leg with the printed sock: